Imagine unwinding in the comfort of your own backyard, letting the soothing heat from an outdoor sauna melt away the stress of your day. The idea of installing an outdoor infrared sauna is enticing, but the process can seem overwhelming. Whether you're a sauna enthusiast or a first-time buyer, it's essential to have the right guidance to ensure your sauna setup goes smoothly.
In this guide, we’ll take you step-by-step through the process of installing your outdoor sauna while highlighting the best practices for achieving optimal results. We’ll also discuss the benefits of owning a sauna and how to choose the best one for your space. Let’s get started!
Step 1: Choosing the Right Outdoor Sauna for Your Backyard
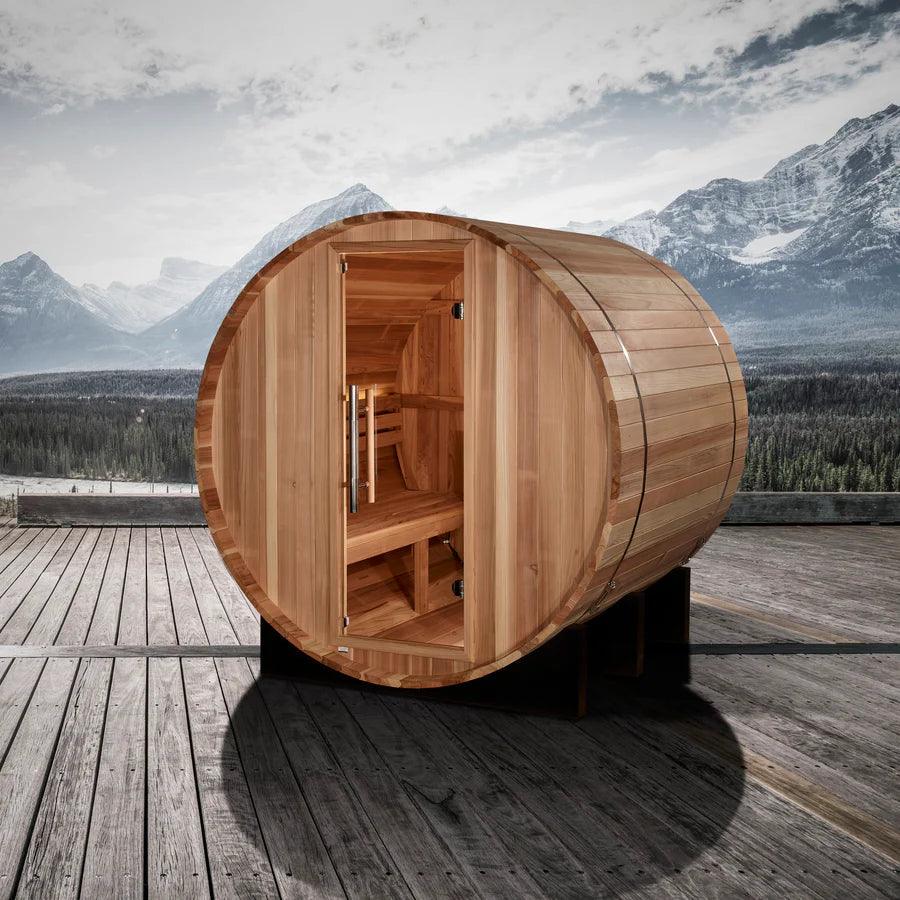
Before you start the installation, the first step is to select the perfect outdoor sauna for your needs. This decision should be based on several factors, including the available space in your backyard, the number of people who will be using it, and your budget.
Key Considerations When Choosing Your Sauna
-
Size and Capacity: Outdoor saunas come in various sizes, from smaller 2-person units to larger family-sized models. Think about how much space you have and how many people will use the sauna at once.
-
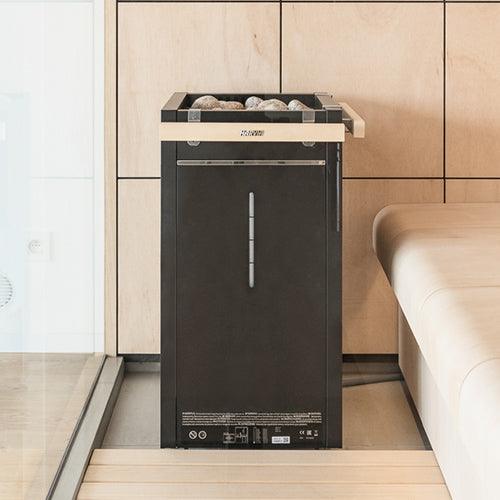
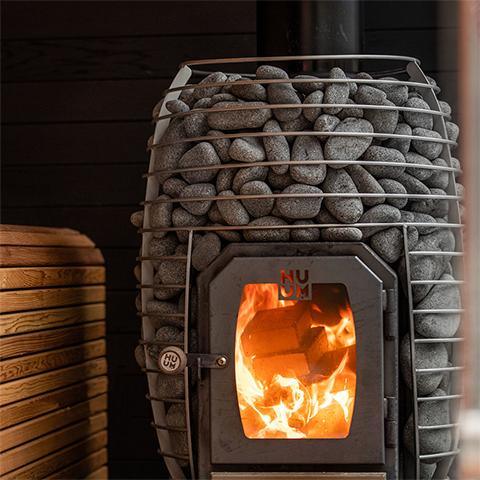
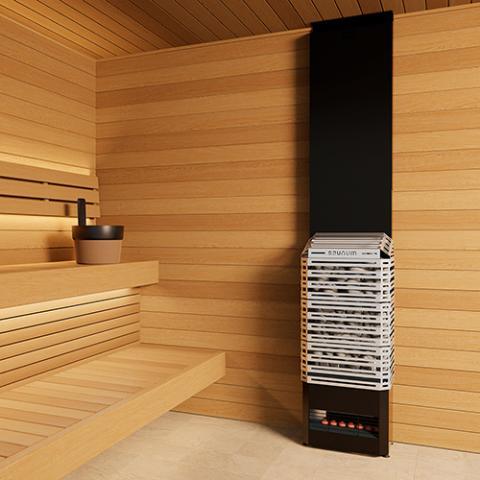
Heating Technology: The most common types are infrared saunas, which use infrared heaters to warm the body directly, and traditional saunas, which use hot stones and steam to heat the air. If you want a full spectrum infrared sauna, that provides the benefits of all types of infrared heat (near, mid, and far), you should look for that as well.
-
Materials: Opt for weather-resistant wood like cedar or hemlock. These woods are known for their durability and ability to withstand outdoor elements.
-
Aesthetic and Design: Choose a design that complements the look and feel of your outdoor space. The sauna should enhance your backyard's overall appeal.
Step 2: Preparing Your Installation Site
Choosing the right location in your backyard is essential to ensure proper installation and functionality. The ideal site should be flat, stable, and have enough space to accommodate the sauna comfortably.
Site Selection Tips
-
Level Ground: Ensure the ground is level to prevent water from pooling around the sauna and to ensure that the sauna is stable. You may need to pour a small concrete pad or use outdoor pavers to create a flat surface.
-
Proximity to Power Source: If your sauna is electric, ensure the site is close to an electrical outlet, or be prepared to install a new one. For infrared saunas, a standard 120V outlet may suffice, but larger models might require 240V.
-
Ventilation: Proper ventilation is essential for the sauna’s performance and your safety. Make sure there is enough airflow around the sauna to prevent overheating.
Step 3: Getting the Right Tools and Materials
Installing an outdoor infrared sauna typically requires only basic tools, but it’s crucial to have everything you need before starting the setup.
Tools and Materials Checklist
-
Leveling tools (e.g., spirit level, measuring tape)
-
Screwdrivers or drills for assembly
-
Wrenches for tightening bolts
-
Power supply (either a 120V or 240V outlet, depending on your sauna model)
-
Weatherproof sealant to help protect the sauna from the elements
-
Shovel or rake (if you need to clear the site for leveling)
Step 4: Assembling Your Outdoor Sauna
Once you’ve chosen the right location and gathered all your tools, it’s time to assemble your sauna. Many outdoor infrared saunas come in pre-assembled panels that are easy to put together, making the installation process relatively simple.

Step-by-Step Assembly
-
Unbox Your Sauna: Carefully remove all parts from the box and organize them. Lay them out in the order they will be assembled.
-
Assemble the Base: Start by installing the sauna’s base. This step may involve screwing together the base panels and ensuring everything is level.
-
Attach the Walls: After the base is secure, attach the wall panels. Some saunas require you to install the heating elements in this step.
-
Install the Roof: Most saunas have a roof that needs to be installed, often with the help of a second person. Ensure it is sealed tightly to prevent moisture from getting inside.
-
Connect Electrical Components: If your sauna is electric, follow the manufacturer’s instructions for wiring. It may be best to hire an electrician to ensure this step is done safely.
-
Final Touches: Attach any additional features such as glass doors, benches, and light fixtures.
Remember, always refer to the manufacturer's installation instructions, as specific models may have slightly different assembly steps.
Step 5: Connecting Power and Ensuring Safety
The next crucial step is to connect your outdoor sauna to the power supply. Safety is paramount, so ensure the following:
Electrical Connection Tips
-
Hire a Licensed Electrician: If your sauna requires 240V, or if you're unsure about the wiring process, hiring a licensed electrician is the safest option.
-
Proper Grounding: Ensure the sauna is properly grounded to prevent electrical malfunctions.
-
Waterproofing: Use weather-resistant outlets and make sure the sauna is completely sealed to protect against rain and moisture.
Step 6: Testing the Sauna and Final Checks
Once your sauna is fully installed, it’s time for a test run. Turn on the heater, check the temperature, and make sure all components are functioning properly.
Test for the Following
-
Heat Distribution: Check that the heat is evenly distributed throughout the sauna. Infrared saunas should reach their optimal temperature in 20–30 minutes.
-
Power Functionality: Ensure that the electrical system is working correctly and that there are no electrical issues.
-
Structural Integrity: Ensure all screws and fasteners are tightened, and that the sauna feels secure.
Step 7: Enjoy Your Outdoor Sauna!
After everything is set up, take some time to enjoy your new outdoor infrared sauna. Whether you’re using it for detoxification, relaxation, or pain relief, you’ll experience the benefits almost immediately.
Regular maintenance is key to ensuring your sauna lasts for many years. This includes cleaning the interior, checking for any wear and tear, and ensuring that the electrical components are functioning properly.
Maintenance Tips for Your Outdoor Sauna
To keep your sauna in top condition, follow these maintenance tips:
-
Clean the sauna regularly using a soft cloth to remove dirt and sweat.
-
Use a moisture-absorbing product to prevent humidity buildup in the sauna.
-
Inspect the heating elements periodically to ensure they are functioning properly.
-
Apply a protective sealant to the exterior to protect it from the elements.
Create Your Backyard Sanctuary with SplashBlaze™
Installing an outdoor infrared sauna can completely transform your backyard into a serene retreat for wellness, relaxation, and health. By following the steps outlined in this guide, you can ensure a smooth installation process and enjoy your sauna for years to come.
At SplashBlaze™, we provide a wide selection of premium outdoor saunas that are built to last and designed for relaxation. Whether you're looking for a small, personal sauna or a larger family-sized unit, our collection has something for everyone.
FAQs:
The installation process typically takes 4-6 hours depending on the sauna model and whether you hire professionals for electrical work.
If your sauna requires 240V power, it’s highly recommended to hire a licensed electrician to ensure safe installation.
Yes, most outdoor infrared saunas come with easy-to-follow instructions, and many are designed for DIY assembly.
Use weatherproofing techniques such as sealing the wood, using protective covers, and ensuring proper drainage to protect your sauna from moisture and harsh weather.
Installation costs can vary depending on the sauna size, electrical requirements, and location. Generally, expect to pay $500–$1,500 for professional installation, excluding the sauna's purchase price.

